Plasti Dip rims: How to apply and mistakes to avoid

Quick insights
- Plasti Dip is a product used to apply a new color to the rims of a car without it being permanent or costing too much time or money.
- It’s important to follow proper instructions when applying Plasti Dip to achieve the optimal look.
- Regular cleaning and maintenance of your car can help the Plasti Dip last longer, though you can always apply a fresh coat or remove it by peeling it off.
Thinking of changing up your car’s look but don’t want to invest too much time or money? You may want to consider using a product called Plasti Dip, which is used to paint the rims of a car. It’s cost-effective, easy to apply and can change the look of your car without it being permanent. Let’s take a deeper a look below.
What is Plasti Dip?
Plasti Dip is a spray you apply to the rims of your car to change the color. It’s a more cost-effective, temporary approach to changing the color of the rims than getting permanent or professional paint, and can be removed by peeling it off.
How to Plasti Dip your rims
Below is a step-by-step guide on how to apply Plasti Dip to your rims:
1. Clean the wheels. Make sure you start by cleaning the rims so you have a clear surface to avoid trapping any dirt under the Plasti Dip. You can use little tools like a Q-tip to get into more hard-to-reach areas. The wheel and rims should also be dry prior to application.
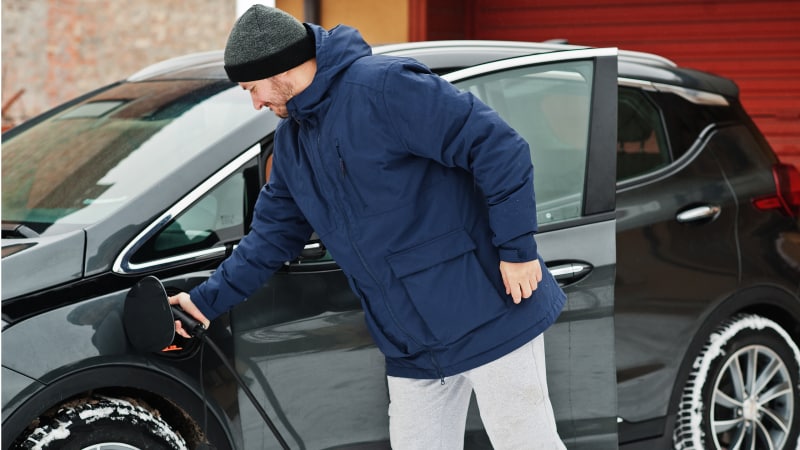
2. Prepare the rims. After cleaning, remove the wheels from your car. Plasti Dip can spray onto objects outside of the wheels, so removing them can help avoid hitting any unwanted areas. If you can’t remove the wheels, you can use a tarp, cardboard or other sources to help protect the other areas of your car from the spray.
3. Apply the Plasti Dip. When you’re ready, place the product in warm water, at a temperature no higher than 100 degrees F. Warming up the product for a few minutes can help reduce the amount of air bubbles, allowing for a more even application. Next, dry it off then cover your nose, mouth and eyes with gear like protective goggles and a respirator. Finally, you can begin applying the Plasti Dip. Keep the wheels straight and up, applying the spray from about 6 inches away. Try to be as consistent as you can as you spray your wheels.
4. Let the wheels dry then repeat. After covering the wheel, wait about 15 minutes before applying another coat to cover any spots you may have missed. Continue this process until there are several coats of Plasti Dip on the wheel, anywhere from four to five. Remember, do your best to apply a smooth and even finish on the wheels.
Common mistakes to avoid when Plasti Dipping rims
Below are some common mistakes to avoid when you Plati Dip the rims of your vehicle:
- Starting with dirty tires and rims, and not cleaning them properly before application
- Only applying one or two coats
- Not giving enough time between coats to dry
Patience and preparedness are key—make sure you take the time to apply Plasti Dip properly so you can avoid damaging your car.
How to maintain your Plasti Dipped rims
Regularly caring for your car can help maintain the Plasti Dip on the rims of your wheels. For example, regularly cleaning with appropriate solutions (such as an all-purpose cleaner) and avoiding strong or harsh chemicals can help keep the rims healthy. You can also protect and shine your rims with products that help preserve the look, such as Dip Coat. Finally, you can re-apply the Plasti Dip when you start to see signs of deterioration.
How to remove Plasti Dip from your rims
To safely remove Plasti Dip from the rims, simply peel off the material. If it’s been applied correctly it should be a fairly quick and efficient way to remove the product.
If you run into any trouble and find that there’s some residue, you can use the following treatments:
- Isopropyl alcohol
- Goo Gone
- WD-40
You can use these products to treat then immediately rinse off your rims to avoid potential damage to the finish below.
In conclusion
Plasti Dip can be a useful option when it comes to refreshing the look of your car’s rims without having to invest too much money or time. Following the proper steps and taking proactive measures to maintain the look with regular cleaning can help avoid damage to your car. When it's time to remove, simply peel off the product. With any alterations, make sure you follow the instructions and keep up with maintenance so that you can continue riding in style.