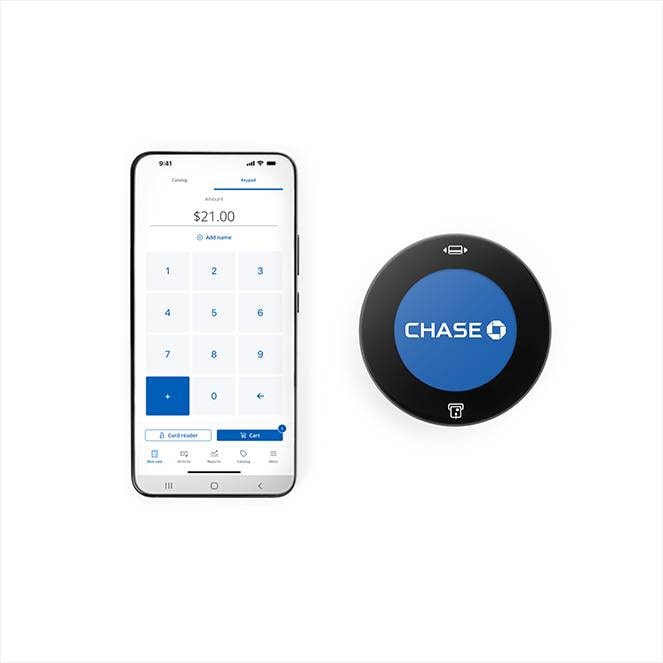
Meet the Chase POS app
The Chase POS app and optional Chase Card Reader™ are a mobile POS system with all the essentials to run your business. The app lets you use your smartphone or tablet to take payments anytime, anywhere. Discover all the built-in features activated with QuickAccept®.
Need help with QuickAccept? Go here.
Chase POS app features
See what you can do and get more support
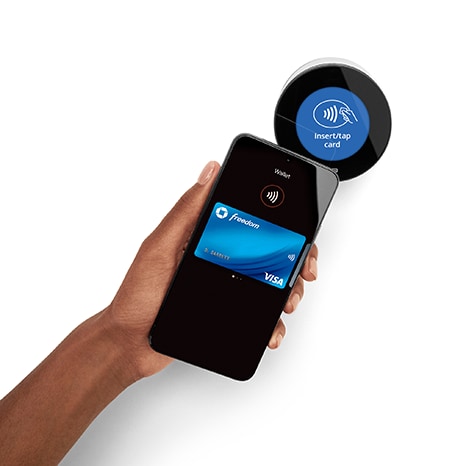
- Pair the optional Card Reader
- Use Tap to Pay on iPhone
- Send payment links
- Build and manage your product catalog
- Manage tips, taxes, discounts and receipts
- View transactions and reports


Setting up your Chase POS app
Ready to get started? Follow these quick and easy steps.
1
Enroll in QuickAccept®
Haven’t done this yet? Make sure to visit this page to learn how to enroll in QuickAccept so your account is ready to start accepting card payments.
2
Download the app
Use the buttons in the section above to download the Chase POS app from the iOS App Store or Google Play store.
3
Sign in
Use your chase.com username and password to access your Chase POS app account.
I downloaded the app and signed in. Now what?
Now that you have the app and set up your account, it’s time to sign in and activate your smartphone. Here’s what to do:
- After signing in, complete authentication by entering a code sent by phone or email
- Choose the Merchant Account you want associated with the app and assign a name
- Wait a few moments for the app to be updated
After that, you should be all set to customize your settings and start pairing and connecting the optional Card Reader.
Chase POS app FAQs
Ready to make the most out of your Chase POS app? Check out these frequently asked questions from business owners like you.
The app is available to download on both the iOS App Store® and Google PlayTM Store. You can click directly on the store icons, displayed at the top of the page under the features, to take you there. Android devices require Android 11 or above.
- Open the Chase POS app on your device
- Choose Sign In
- Enter your Chase username and password, then press Sign In
- Choose Remember me to use the same login user name for next logins
- Choose SMS or Call as your preferred verification method
- Choose the phone number to send the code to and press Request a code
- On the next screen enter the code received. Press Resend Code if you have not received one
- You will now be asked to choose the Merchant Account you want to associate with your app and assign a name
- Wait a few moments and the app will update
- The app is now ready and you can customize your settings as well as pair the optional card reader
Note: While all Chase logins use the same username and password, Chase POS app does not use a token for logins.
Yes, you can use biometric authentication to log in to the app, depending on your iOS or Android device's functionality.
On the login screen, look for the biometric icon next to the username field. You'll be able to set up facial or fingerprint recognition to sign in faster next time. You can also find the option in the app's settings. Make sure you have facial or fingerprint recognition already set up on your device beforehand.
Note: You can always use your username and password to log in.
Biometric login can only be set up for one user ID at a time. All other user logins will need to be manually entered.
You can disable and enable the biometrics for any user ID from the app's settings.
Yes, you can add different users to your account. For help with access and security, visit this page.
Learn everything you need to know about setting up and using your catalog on our dedicated support page by clicking here.
You should enable automatic updates for the app as Chase will periodically release new features and fixes.
- Choose More from the right side of the bottom navigation bar
- Choose Settings
From here, you can access settings for your device, checkout process and sign-in preferences.
- Choose More from the right side of the bottom navigation bar
- Choose Settings and scroll down to Sign in preference
- Choose Face ID or Fingerprint ID and toggle on to sign in this way moving forward. Ensure that it appears with a blue check mark
- If someone else has already turned on Face ID or Fingerprint ID on this device, it will ask you if you wish to turn off Face ID or Fingerprint ID for that account and turn it on for yours
- Choose No, Thanks or Yes please
- Choose More from the right side of the bottom navigation bar
- Choose Support
- Choose Support Center and the support page will open
- Alternatively our phone number is also listed for you to call us on the Support page
- You can directly press the phone number listed and press Call now to call directly
Find more help
Get extra support with account management and business compliance and explore what you can do with QuickAccept