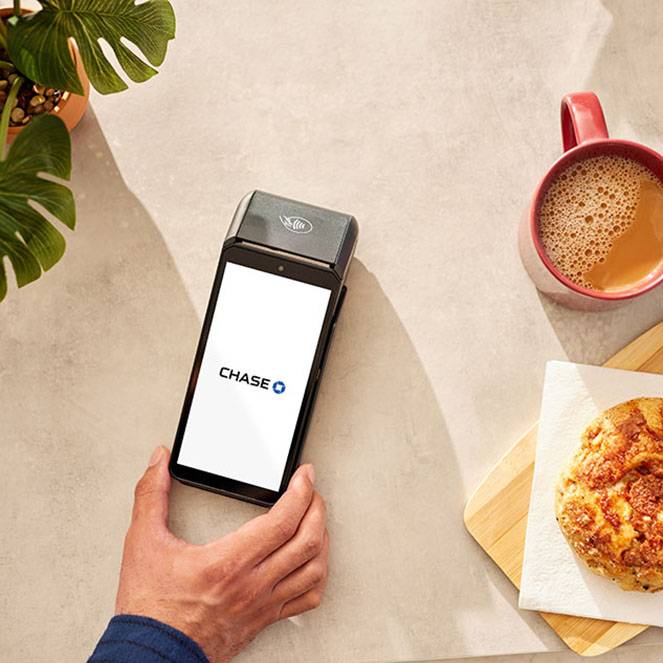
Meet your Chase POS Terminal
The Chase POS Terminal is the latest all-in-one handheld and wireless terminal that lets you process payments with ease. Haven't enabled payment processing? Go here to get started with the Chase POS system.
Terminal features
See what you can do with the Chase POS Terminal
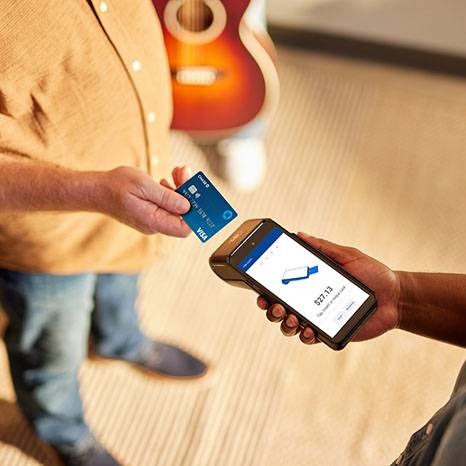
- Accept card payments: contactless, chip and pin, swipe and manual entry
- Create and send payment links
- Send digital receipts through text or email
- Build and manage your product catalog
- Manage tips, taxes and discounts
- View transactions and reports
Unboxing your Chase POS Terminal
You just received your terminal. Now what?
1
Power on and power up
Hold the power button for 3-5 seconds located on the left hand-side of the device.
Make sure your terminal is charged before performing any actions. To complete setup and activation, you’ll need over 30% battery.
2
Connect to Wi-Fi
- Tap on Settings at the bottom of the Home Screen
- Choose Network
- Tap on Wi-Fi and make sure the Wi-Fi toggle is enabled
- Choose your Wi-Fi network from the list
- Enter your Wi-Fi password and press Connect
3
Activate your device
You will need to log in to Chase Business Online to set up your password and choose your preferred Multi-Factor Authentication method. This should take about 2 minutes.
After that, follow the steps in the “Getting started” tab below to complete activation.
Chase POS Terminal FAQs
Explore the frequently asked questions below to get set up and troubleshoot any issues.
To turn on the Chase POS terminal, press and hold the power button for 3-5 seconds. The power button is located on the left hand-side of the device. The longer button is the volume and the smaller one above is the power.
Note: If using your terminal for the first time, make sure it is fully charged before use. You will not be able to complete setup and activation with less than 30% battery (even if the device is plugged in).
- Power on your terminal
- Tap on Settings at the bottom of the Home Screen
- Choose Network
- Tap on Wi-Fi and make sure the Wi-Fi toggle is enabled
- Choose your Wi-Fi network from the list
- Enter your Wi-Fi password and press Connect
- Your terminal is now connected to the Internet and you can sign in
Note: The Chase POS Terminal should remember your previous network selections, so once you set up the wireless network settings, you shouldn't need to do it again unless you change locations.
Once you’ve set up your credentials in Chase Business Online, it will take about 10 minutes to set up and personalize your terminal. During this process, you can set up your catalog and review your account settings. For help setting up your catalog, go here.
- Power on your terminal
- Tap on Get started at the bottom of the Home Screen
- On the Chase POS login screen, enter your username and password and choose Sign in
- Choose the method to complete the Multi-Factor Authentication and press Request a code
- Enter the code you received by text or email and press Sign in
- Choose the business account to link with your Chase POS Terminal, then press Continue
- Enter your time zone and choose Continue
- Choose a name for your Chase POS Terminal
- You’ll see a summary of your choices; press Set up device to complete it
- You’re all set to customize your device — you should be set up in about 5 minutes
Learn everything you need to know about setting up and using your catalog on our dedicated support page by clicking here.
It is not currently possible to directly add authorized users from the terminal itself. However, you have two easy ways of doing this. You can add, update or remove authorized users and manage access to your account on Chase Business Online or through the Chase Mobile app. It is all done through a secure feature called Access & Security Manager. Go here for more information and step-by-step instructions.
- Open the paper cover by lifting the latch at the top of the Chase POS terminal and the tray should drop down
- Place the paper roll in the open compartment with the paper feeding around the back of the roll and out the top
- The paper should not feed through the rollers
- If the paper roll is placed incorrectly, it will not print properly
- Pull the paper just above the tear line
- Close the cover by pressing on both corners to secure it
- If a new paper roll is inserted, tear off the first length to avoid printing on the adhesive
Need to order supplies? Go here.
- Choose More from the right side of the bottom navigation bar
- Choose Sign Out towards the bottom of the screen
Turning off or rebooting your terminal is a great way to troubleshoot any issues.
- Press and hold the Power button on the left-hand side of the device
- The screen will display several options
- Press on Power off to turn off the terminal fully OR press on Restart to reboot the terminal
With the Chase POS Terminal, you can rest assured that you have the most up-to-date version. We regularly make updates and changes to the terminal software, introducing new features and enhancing the experience for you.
Note: To ensure you are receiving updates, always check that your terminal has a battery percentage above 30%. In general, we issue our updates after midnight. Please leave your terminal on and connected to the network to receive the update. Otherwise, you should receive the update when you power on in the morning.