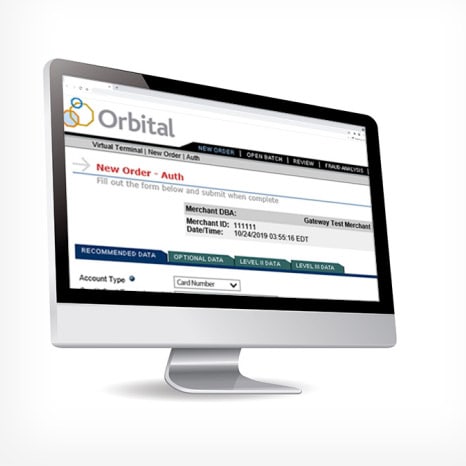
Orbital® Virtual Terminal support
This guide is designed to help you get the most out of your Orbital Virtual Terminal. Whether you’re just getting started or looking to explore advanced features, you’ll find everything you need to process payments, manage users, issue refunds and access detailed reporting—all from a secure, web-based platform.
From setting up your account to handling day-to-day transactions and recurring billing, this resource will walk you through each step to make your payment experience as smooth and efficient as possible.
What is the Orbital Virtual Terminal?
The Orbital Virtual Terminal is a secure, web-based platform that allows you to process credit card payments directly from your computer. It's ideal for phone or mail orders and doesn't require any additional hardware.
Orbital Virtual Terminal features:
- No hardware needed: Just internet access
- Easy to use: Manage and track payment activity easily
- Quick setup: Typically activated within 48 hours
- Auto-settle: Automatically settles your open batches at a set time daily
- Wide range of payment methods: Supports all major cards and more
- Duplicate check: Warns you if a duplicate transaction is about to be processed
- Authorized contact security: Verifies contact identities for added security
- Multiple users: Supports multiple users with role-based access
- Profile management: Securely stores customer payment details using a profile ID (token), so you can reuse it for future transactions

How can I access and set up Orbital?
To use Orbital Virtual Terminal, you must have an active merchant account with Chase Merchant Services. Once your account is approved, the Orbital Virtual Terminal is generally available within 48 hours. For help with setup, contact us or a sales representative.
Orbital Virtual Terminal FAQ
Explore the frequently asked questions below to get set up and troubleshoot any issues.
- Go to the sign-in page. Click here
- Click on the Sign in button located at the top right corner of the screen
- Enter the username and one-time password (OTP) sent to you in two separate emails
- You will be prompted to create a new password. Make sure it includes at least 8 characters, a number, and an uppercase letter
- Once your new password is set, you’ll be logged in and ready to go
Note: If you are not set up for an Orbital virtual terminal, click here to contact us to set up the account first.
- Go to the sign-in page. Click here
- Click on the Sign in button located at the top right corner of the screen
- Enter the username and one-time password (OTP) sent to you in two separate emails
- You will be prompted to create a new password. Make sure it includes at least 8 characters, a number, and an uppercase letter
- Once your new password is set, you’ll be logged in and ready to go
Note: Too many failed login attempts will lock your account.
- Go to the sign-in page. Click here
- On the login page, click Need Assistance
- Follow the prompts to unlock your account /reset your password
- Click Forgot Password on the login screen
- Enter your username and email address
- Check your inbox—you’ll receive a temporary password by email
- Log in using the temporary password
- Answer your security questions, then create a new password
Your merchant number (Merchant ID) is located across the top-middle of the Virtual Terminal screen above any transaction information.
Your merchant number is also located on the front of your merchant statement, which is always available in our online reporting application, Resource Online.
Usernames are permanents for security reasons. If you need to change it, please contact us.
Once your merchant account is set up, the Virtual Terminal is usually activated within 48 hours. If you need help during the process, just contact your sales rep or account executive.
Yes, the system is available anytime. Just keep in mind:
- It will log you out after 20 minutes of inactivity to protect your account
- You’ll need to log back in to continue using it
Absolutely. Each user gets a unique login, and you can set different permission levels:
- Full access
- Or limited access (authorize only / authorize & capture, but no refunds)