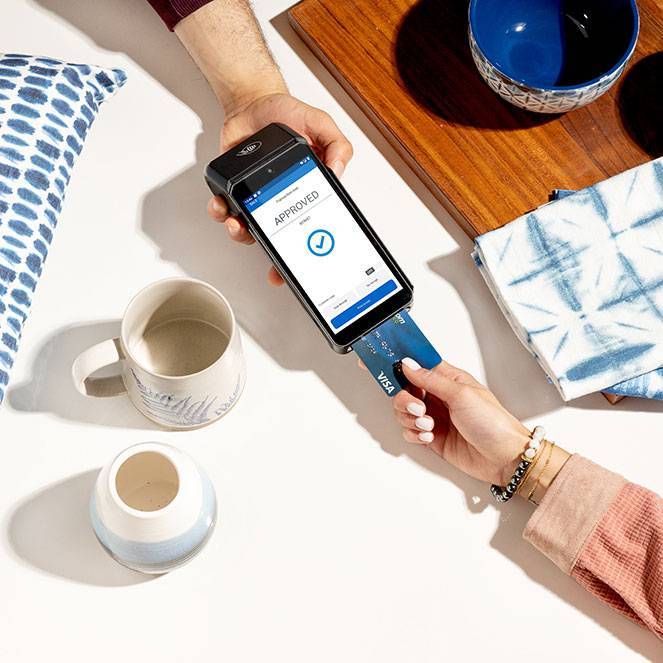
Meet your Chase Wireless terminal
The Chase Wireless Terminal is built for speed, security and simplicity, helping you process transactions with ease. Accept payments via chip, tap, swipe or manual entry, and stay connected with Wi-Fi or cellular networks (4G), so you are always ready to serve your customers anytime and anywhere.
This guide walks you through setup, transactions, refunds and key features to help you get the most out of your terminal. Let’s get started!
Navigating your Chase Wireless Terminal
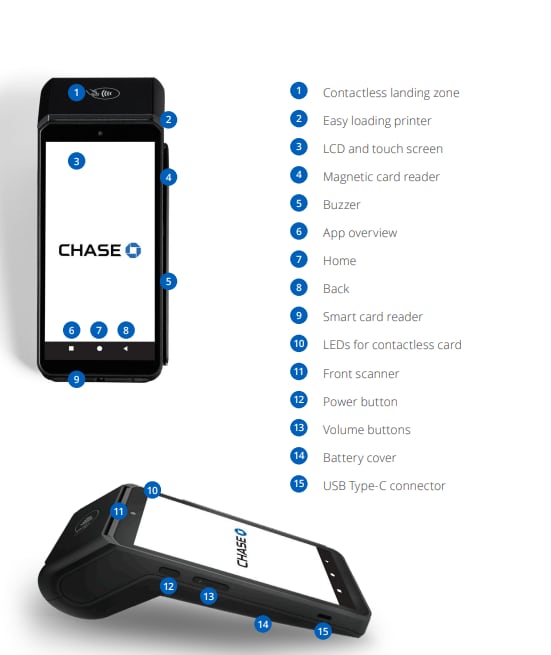
Check out the helpful diagram below to get familiar with your Chase Wireless Terminal.
Unboxing your Wireless Terminal
Ready to get started? Follow these quick and easy steps.
1
Power up and connect your device
- Connect your device to a power source using the provided cable
- Connect your device to Wi-Fi. Refer to the "Getting Started FAQ" for detailed steps on setting up your Wi-Fi connection
2
Set up your password
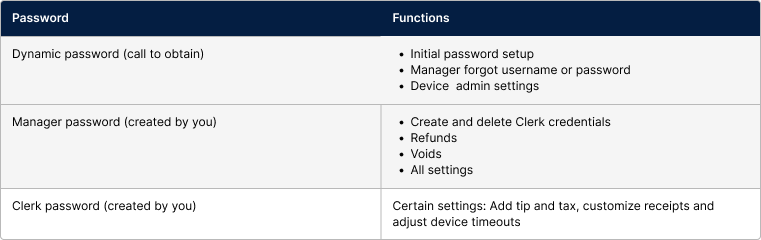
- Set up your credentials for security purposes. You will need these credentials to process refunds
- Refer to the "Passwords FAQ" for detailed steps on setting up your password
3
Run a test transaction
- Run a test transaction to ensure everything is functioning correctly
- Refer to "How can I perform an EMV download?" in the "More Help FAQ" for detailed instructions on running a test transaction
Chase Wireless Terminal FAQ
Explore frequently asked questions to learn how to get the most out of your Chase Wireless Terminal.
Please connect with our Sales team.
The Chase Wireless Terminal supports multiple payment methods, including:
- Contactless payments (like Apple Pay® or Google Pay™)
- Chip and PIN transactions
- Traditional magstripe card payments
- Manually keyed transactions, if needed
To turn on:
- Press and hold the power key on the left-hand side for about 1 second
- Wait for the Chase logo to appear on the screen
- Your terminal is now powered on
To turn off:
- Press and hold the power key on the left side for more than 2 seconds
- A shutdown screen appears
- Press Power off to confirm
Let's get your Wi-Fi set up. Follow these steps:
- Tap the three lines ☰ at the top left of your screen
- Swipe up and tap the Exit tab at the bottom to return to the Home Screen
- Choose Settings
- Choose Network
- Choose Wi-Fi to enable Wi-Fi support. Make sure Wi-Fi is turned on by tapping the toggle button in the top-right corner
- Pick your preferred network from the Use Wi-Fi list
- Enter your Wi-Fi password and tap Connect. If you'd like to see the password as you type it, simply check the box next to Show password
- Once you see the Connected status, you’re all set! Your terminal will now connect to your Wi-Fi automatically.
Go here to watch a video tutorial.
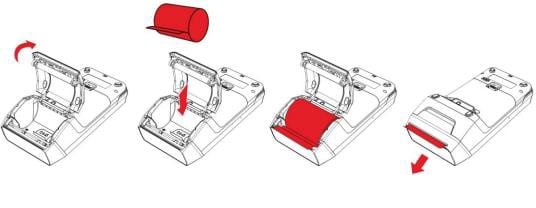
- Turn the device over and lift the latch located at the top of the terminal, pulling it to the rear of the terminal
- Pull the paper up to the top of the terminal while holding the paper and close the cover
- Make sure to press both upper corners of the paper flap to ensure it snaps into place
Here’s a visual reference:
You can choose or change the language for both your terminal and the Chase Payment App. Here’s how:
Terminal language:
- Choose the three lines ☰ at the top left of the screen
- Swipe up and choose Exit at the bottom to return to the Home screen
- Choose Settings
- Choose Language
- Choose the language you want
Chase Payments App language:
- Choose the three lines ☰ at the top left of the screen
- Choose UI Language
- Pick your preferred language and tap Confirm to save your changes
Click here to watch a video tutorial
Note: changing the language within the app will not change the language of the device.
Make sure your device is always set to the correct date and time:
- Tap the three lines ☰ at the top left of your screen
- Swipe up and tap Exit to return to the Home Screen
- Choose Settings
- Choose Date & Time
- Tap the Use network-provided time toggle for default date and time
- Tap the toggle off to set your own date and time manually
Go here to watch a video tutorial.
The power save timer helps conserve battery life by putting the terminal into a low-energy state after a set period of inactivity. This is especially useful for extending battery life during long periods of no use. Follow these steps:
- Tap the three lines ☰ at the top left of your screen
- In the menu, swipe up and tap Settings
- Enter your Username and Password, then tap Confirm
- Tap the System tab
- Swipe up and find Power save timeout
- Adjust the timeout and enter the value in seconds (e.g, 180 seconds for 3 minutes) and tap Confirm
Click here to watch a video tutorial
Easily customize your display settings by following these steps:
Adjust Brightness:
- Choose the three lines ☰ at the top left of the screen
- Swipe up and choose Exit at the bottom to return to the Home screen
- Choose Settings
- Choose Display
- Tap Brightness level and adjust the brightness by swiping left to right
Enable Dark Mode:
- Choose the three lines ☰ at the top left of the screen
- Find Dark Mode and toggle it ON or OFF based on your preference
Click here to watch a video tutorial
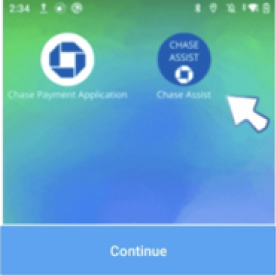
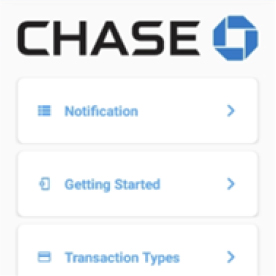
Chase Assist is the on-device support application for guides, troubleshooting help and additional error codes that may appear on your terminal. You can access this application for 24/7 assistance.